Thursday, June 6, 2013

Yummy Rice Bowls - a plant based meal


Let me tell you how in love I am with my new healthier clean eating lifestyle. There is so much flavor and goodness that comes from it. It has relieved my arthritis in my knees and has made me feel whole. Not to mention the extra lbs that have come off. 
  One thing that was tough adapting to a plant based diet was recipies. Thank goodness for Pinterest. Even with it, it's hard to find something that my whole family will enjoy together. A staple I came up with is my Rice Quinoa Bowls. Using whole grain brown rice and quinoa with a medley of vegetables, you get all your vitamins you need to fill you up. 

Rice Quinoa bowl 
Use as much as you need to accommodate your family
Zucchini, yellow squash, bell pepper in green and red or yellow or orange, red potatoes, red onion, minced garlic,  red cabbage or whatever other fresh veggi you can think of. Sauté the garlic in a tiny bit of olive oil then add the potatoes and red onion. Cook those for a few minutes before adding the other veggies. Wile they are cooking, have your quinoa and brown rice cooking along with whatever kind of bean you would like.  Dice up avacados. When everything is ready, layer your rice mixture on the bottom, add your vegetables, then avacados.  Sprinkle nutritional yeast then mix it all together. Nutritional yeast has a sharp flavor like cheese and is a great replacement for it. Salt and pepper as needed and enjoy!  You will love it!  I make it once a week and enjoy leftovers a couple more days for lunch. 


Monday, May 27, 2013

Distressed Chevron Art

OH am I in love with this project.  Who doesn't love chevron.  In my quest to spice things up in my family room, I knew that this print was a must on numerous accounts.  1. Pillows, 2. wall art (check), 3. a Painted rug, DIY? not sure when that one will get done, but a girl can still hope.

This project was pretty fast and easy/cheap.  I went to Lowes...best place on earth for mom's.  They are so willing to help you out.  THere is no need to own power tools, just have the cute men there drill or cut what ever you need for your building project.  I didn't have to cut this wood, it was perfect.  

I had my cute girls help with painting because it couldn't get screwed up.  They love to craft with me so I am trying to let them as much as I can.  They painted the entire surface white, using acryllic craft paint slightly watered down.  I didn't want my board to be stark white since I am going for a distressed finish,  and a sponge brush.  We let it dry completely before going onto the next step.


Apply your painters tape.  Mine is 2 inches.  Perfect!  I eyeballed my chevron.  I don't like precise...takes to long.  The more imperfect the better in my opinion, so tape away baby!  Just trim with scissors at your points where needed.

Paint over the remaining white parts that are showing, Black. I ended up adding a little water, but not too much or it will just muck up the white and turn it to grey. Where it was too watery, the paint bled right under the tape.  You can see in the photo on the lower right side.  easy fix.  Once it is all dry, then fix it with the white paint.


after you have touched up and the paint is completely dry, 30 minutes to be safe, grab some sand paper and start sanding slightly.  rough up the edges, make it look worn.  Do as much as you would like.


I applied a hook on the back side and used a good ole' hercules hook to hang it on the wall.  I love it and it really made a difference in the room.


Tuesday, May 21, 2013

Under Construction

OH just trying to give myself a "Shop Makeover" and trying to redo things over here.  I have added a SHOP section where you can purchase Maxi Skirts directly from me instead of heading to my BNNB ETSY shop.  Please be patient with me.  I would love to have a ".com" and investigating that route...along with still keeping my blog attached to it...like a lot of your favorite bloggers out there.  So if you have any tips on building such a site, please let me know.

Monday, May 20, 2013

DIY maternity band

Today I got three blog posts done.  Yay for me!  It was a day took a break from orders and got some crafts out of the way that I have been itching to make, and get through some fabric.
I pinned this cute tutorial on making a maternity band, I did mine a little different, but didn't feel the need to really do a step by step on it.  So I will send you to the original source for the instructions, meanwhile you can see the colors I chose.  I was inspired by the picture of the tutorial.
go HERE for the tutorial.  No I am not pregnant, nor am I trying, but thinking about adding these additions to my shop in my bnnb mommy line...newly called bellapia clothing co....

Thursday, May 16, 2013

The Market Bag


Bags make everything cuter!  I grocery shop so much its getting old.  So I started going to farmer's markets. FUN!  I then decided my new activity needed a cute bag.  


For this project you will need 5 cuts of fabric.  I chose contrasting fabric for each section.  Then I grabbed a bag I already had and measured.  

Here is the pattern I made.  The big peice is the main part of the bag, I chose stripes.  The smaller 2 peices are the sides of the bag, I chose polka dots, then the two long pieces are the straps.


take the side pieces and match right sides together at each corner on the same end of the big piece.

sew along the long side first, then repeat for the other side piece

it should look like this.

next, pin and sew the big peice to the bottom of the side piece, and repeat for the other side piece.

it should look like this when you hold it up.
Then pin and sew the rest up the sides, your bag is formed.

I serged the top of the bag then folded over 1/2 inch and made a hem


grab your straps and fold over each edge 1.4 inch, then fold the strap in half and press.


fold the bottoms 1/4 inch and top stitch around the entire strap.


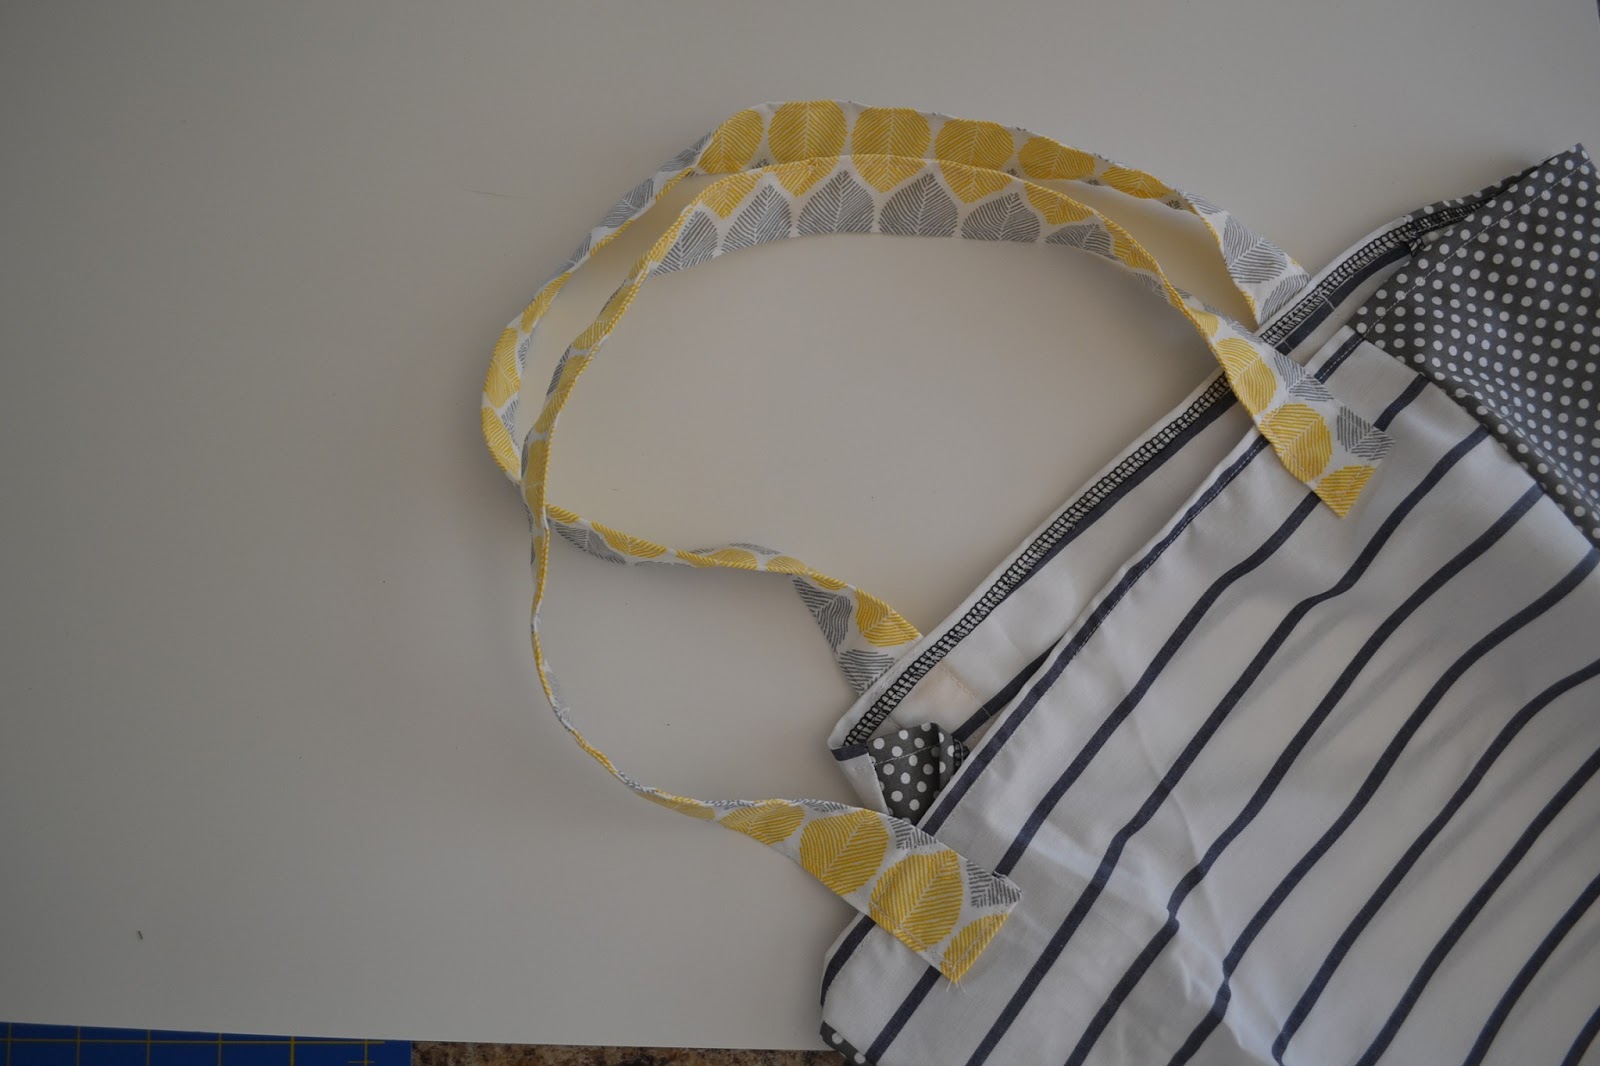
place and pin where you need your straps on the bag.

do a top stitch in a square around the strap pinned to the bag. repeat for all 4 strap ends.


use it for carrying fun things to the pool, the market, the library!  Where ever your heart shall take you, don't forget to take your new bag along for the adventure!