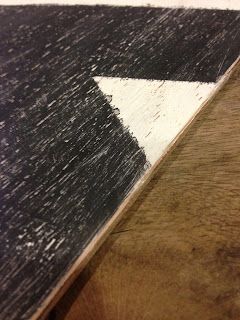
OH am I in love with this project. Who doesn't love chevron. In my quest to spice things up in my family room, I knew that this print was a must on numerous accounts. 1. Pillows, 2. wall art (check), 3. a Painted rug, DIY? not sure when that one will get done, but a girl can still hope.
This project was pretty fast and easy/cheap. I went to Lowes...best place on earth for mom's. They are so willing to help you out. THere is no need to own power tools, just have the cute men there drill or cut what ever you need for your building project. I didn't have to cut this wood, it was perfect.
I had my cute girls help with painting because it couldn't get screwed up. They love to craft with me so I am trying to let them as much as I can. They painted the entire surface white, using acryllic craft paint slightly watered down. I didn't want my board to be stark white since I am going for a distressed finish, and a sponge brush. We let it dry completely before going onto the next step.
Apply your painters tape. Mine is 2 inches. Perfect! I eyeballed my chevron. I don't like precise...takes to long. The more imperfect the better in my opinion, so tape away baby! Just trim with scissors at your points where needed.
Paint over the remaining white parts that are showing, Black. I ended up adding a little water, but not too much or it will just muck up the white and turn it to grey. Where it was too watery, the paint bled right under the tape. You can see in the photo on the lower right side. easy fix. Once it is all dry, then fix it with the white paint.
after you have touched up and the paint is completely dry, 30 minutes to be safe, grab some sand paper and start sanding slightly. rough up the edges, make it look worn. Do as much as you would like.
I applied a hook on the back side and used a good ole' hercules hook to hang it on the wall. I love it and it really made a difference in the room.


No comments:
Post a Comment