Tuesday, June 26, 2012

A Pinned hair do to the test!

I tried a hairdo I pinned. I am a lover of French braids in my hair. If you know me then you know I wear one at least half of the week. This is just another way to love it. One on each side then puff in the middle.

Wednesday, June 20, 2012

Sharpie shirt

I am glad I finally did this project. I have been wanting to make one for some time now but usually forget about it when I am crafting in my spare time (which is hard to come by now days!)  It only took a few minutes and I am itching to do another.  Wouldn't that be cute on a Onesie?  Well here are a few tips to get you going on your own sharpie shirt. 
Pre wash your shirt. Mine was dyed so that part came naturally with that process.
Then draw with pencil before you use the marker. Or wing it like I do. You know I like to do things fast.
Iron / heat set the ink.
Sew on any embellishments of your choice.
Done! 
This is a fun fast quick fix to a plain shirt that us still wearable but your so k of looking at.

T-Mobile. America's First Nationwide 4G Network.

Friday, June 15, 2012

Fathers Day Idea

So if your scrambling maybe to find that last minute item to give the perfect touch try this. I saw this idea on Ruffles and Stuff. She used it with a portrait of herself and daughter stating "love". I am doing a whole series. One of D and I. Then each of the kids with a letter of DAD.

Print 2 pictures the same. Cut out letters or shapes of one and glue foam under the shape. (dollar store in craft section). Glue it on top of the other picture in the matching spot. And you got a 3D picture. Have fun with this. You could get really creative. I already have so many ideas with this craft.

Monday, June 11, 2012

shorts diy pattern


I needed some shorts for my little man.  I bought all I could at target.  that was only 4 pair.  Then the rest had matchy matchy shirts going along with them.  I am not a fan out "outfits" for boys.  I want tshirt/onesies with shorts.  So I have been having fun making them.  I even made some swim shorts (not pictured)  Thanks Dollar store for having boy swim shorts I could cut up and make small ones for Grey.

I will be teaching you how to Make your own pattern so you always have it when you need it and don't have to keep grabbing a pair of shorts/pants from your kids room.


So turn your shorts inside out.  Trace around the front and the back.  Add extra length for hemming and extra at the top for doing the waist band.  Cut it out mark the size and save it.  You will use it all the time!  I do at least.  mark the pattern and write instructions if you need.

Right sides together of the front peices, pin and sew along the center seam until you reach the crotch.  repeat for the back peices.


open them up and place front and back together right sides together.

sew the crotch together, then both side seams.


do a 1 inch hem. fold and press

then do a double stitch.  this make it look really nice.


make your casing for the elastic waist. 


add any decorative stitching before you sew the front and the back together.  i didnt realize i wanted some till i finished the shorts.  it was tuff. 

look how cute!!

Friday, June 8, 2012

Diaper Caddy


So I am hating diaper bags for myself more and more.  So This time, after trying it out one more time, I decided to part with the one I had bought for Grey.  I just hate switching to a purse when I am babyless and forgetting my wallet sometimes in the other bag.  So I decided to purchase a huge purse/bag that I can use for both.  Especially for Sundays, I have enough room for the girls activities and books.  One less bag I have to worry about carrying around.  So I scored this bag at Charming Charlie's  Love it.  $39.  I'm happy.  So now because I don't have any compartments in this bag, I needed to make a diaper caddy to carry all the baby stuff and keep the bag organized.  Its wonderful.  I can just grab the caddy when I have the baby with me and stuff it in my purse.


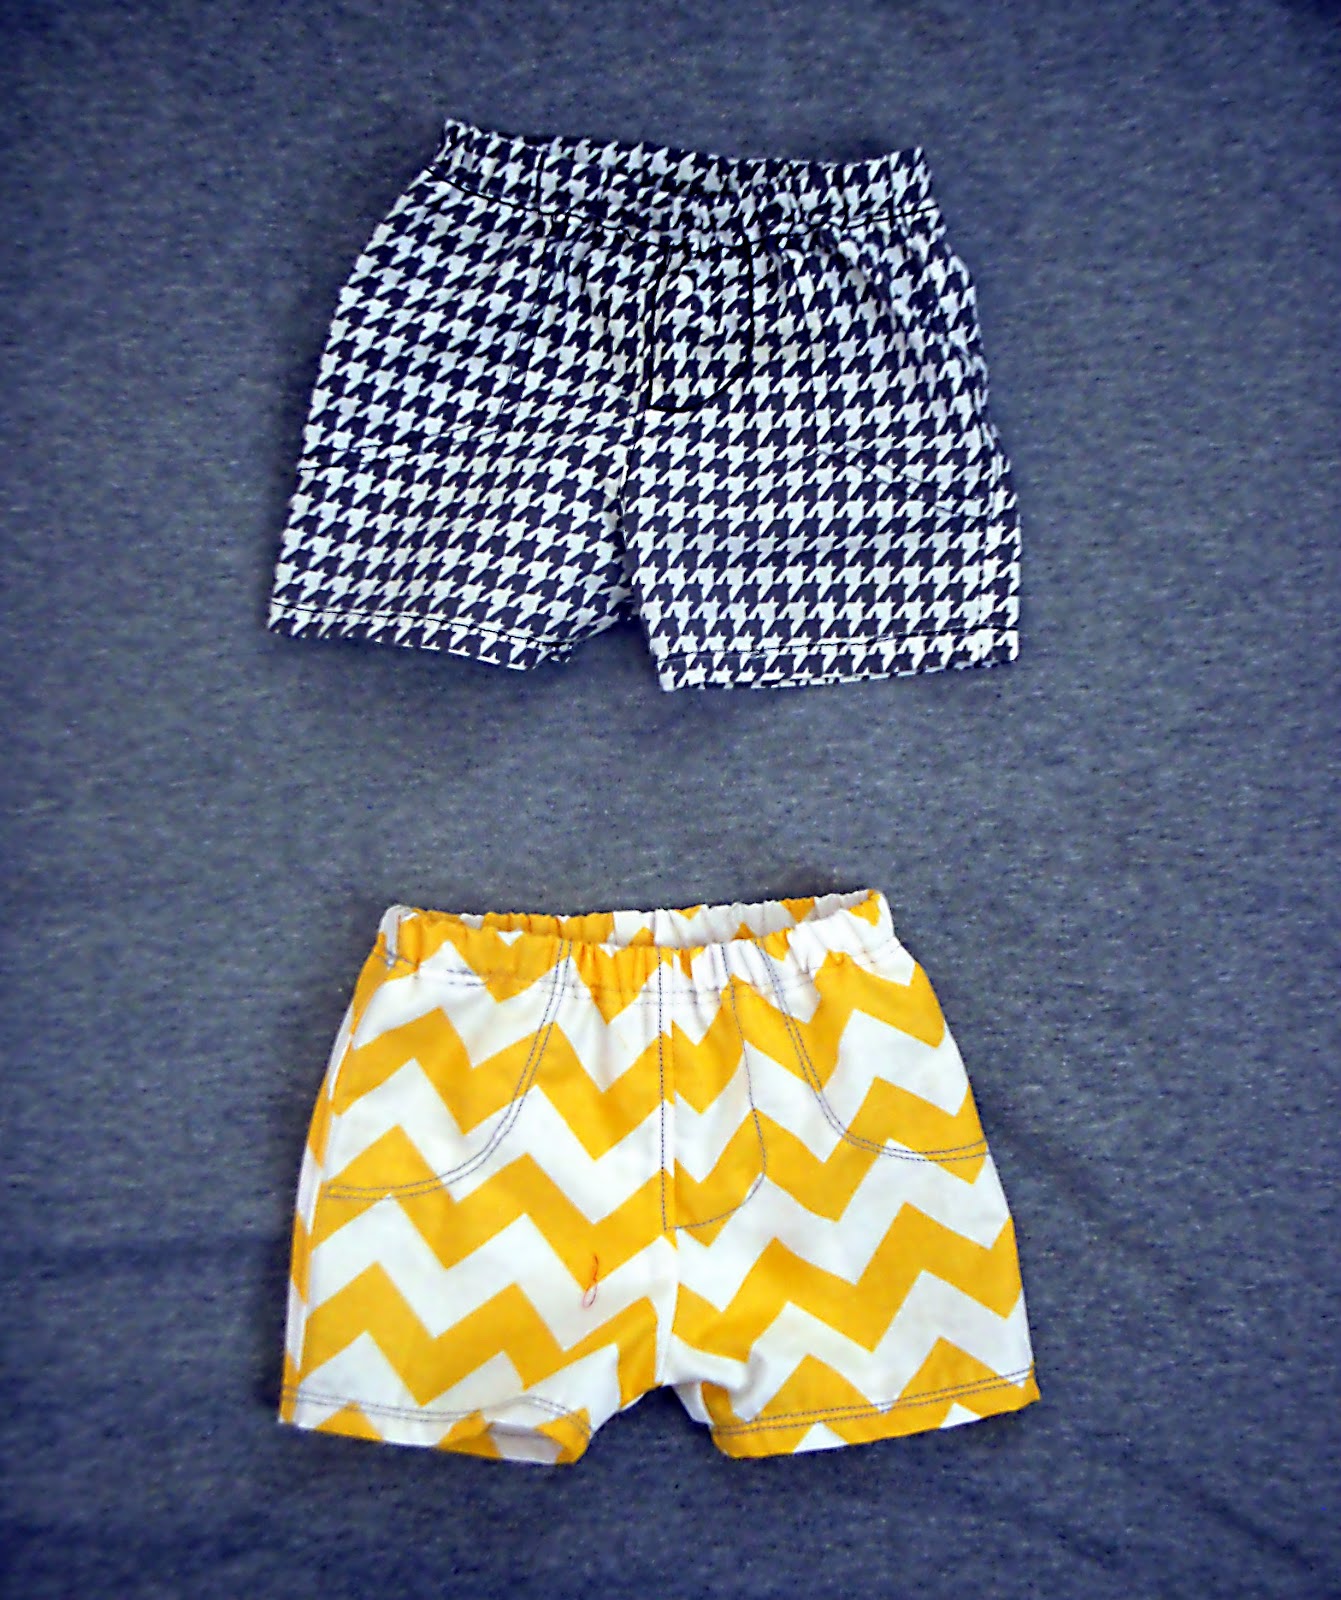
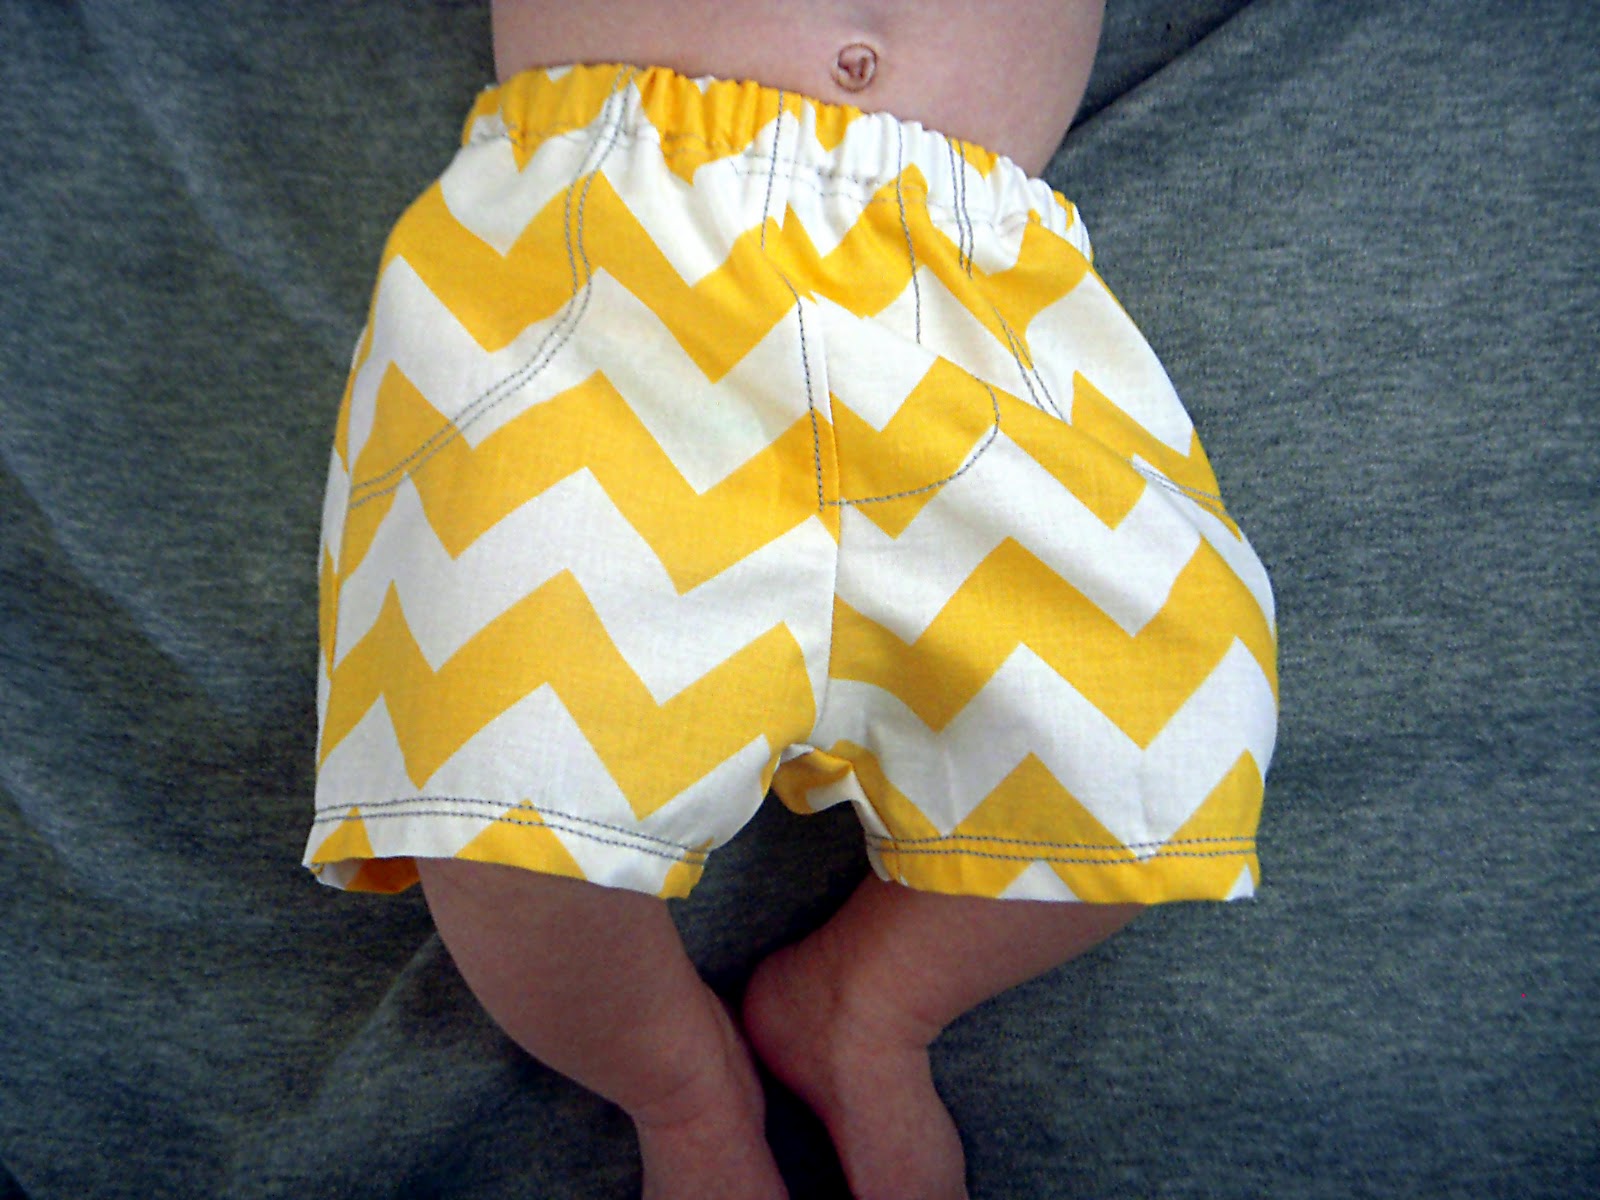
Chevron.  Love it...Grey of course. :)
I make this caddy a little bigger than the size of a gerber brand burp cloth.  I used that as my stencil and added a few inches to the width.  So cut two peices of fabric the same size.

Mark where you are going to put the two pockets.  Pin in to mark.

Cut two fabrics the same size.  These will double the actual size of the pocket. 

Fold them in half and do a top stitch on the fold


Place the folded pockets on the peice of fabric that will be the inside of the caddy.  Pin in place.  Then place the other caddy peice on top Right sides together..Pin.

Sew all around the caddy leaving a few inches opening for turning it right side out.  sewing this will also sew the pockets in place.

cut your corners so they turn nicely.


turn it right side out

press/iron it nicely.

Do a nice top stitch all around the caddy.

make a strap. Cut two peices that are 3x6inches roughly.  Sew right sides together leaving an opening to turn it. 

press and top stitch.

cut velcro to the size of the strap.


Pin and sew the strap onto the caddy, carefully.  Don't sew the pocket closed.

Sew the opposite velcro peice on the out side of the caddy where it matches up with the sewn on strap


your done!
This fits 6 diapers, wipes and my diaper baggies on one side, the my changing mat and my nursing cover on the other side.  Perfectly.


Enjoy!!