Monday, February 4, 2013

No Sew Monogrammed T


I have seen these on the American Apparel Website but holy moly.  They are like $20.  American Apparel is a great brand and has great soft t shirts, but I aint about to spend that for a little guy.  So since I am apart from my sewing machine still, I am trying to get things done that don't require a sewing machine.  Yay for Freezer Paper Stenciling!  Have you done it?  So fun and addicting.

So For this project print out your letters in a font you would like.  Then taking your freezer paper shiny side down, trace the letters.

Cut it out carefully with you craft knife.  Discard the letters and keep the stencil.
Using a hot iron, press the freezer paper on the shirt and iron all the edges down really well.  Sometimes the paint bleeds and it can be fixed, but awesome if you don't have to.


use your permanent fabric paint and a sponge brush (can be found at the dollar store in a 10 pack) and paint your letters


after it dries about 20 mintues, peel the freezer paper off.
Check for bleeds...see mine?
\
unfixed

fixed with a little paint brush


look at how cute!  Great to do this with some of those plain onesies you have laying around.


Thursday, January 31, 2013

Nursing Cover & Scarf in 1...wish I had this when I was nursing

Totally wishing right now that either I had this when I was nursing 6 months ago, or wishing I was having another baby soon.  That won't be happening for a while if at all, so all I can do is wear it the 2 ways, as a blouse and scarf, instead of a nursing cover.  A blouse and scarf you ask?  Yep  This is a three in one product.  I know your day just got better didn't it?  Well let me make it even MORE awesome by telling you this project takes all of 10 minutes!  No I didn't stutter...yes 10 MINUTES!  You can thank me in a comment at the end of the tutorial ;0).

You ready for this glorious discovery?

you will need the following:
1 yard of CUTE knit fabric that you would wear.
thread
scissors

yeah, that's all :0)


The fold is at the bottom

the fold is at the bottom


hello!  A scarf too?  A shirt/ nursing cover and scarf!  Fantastic!!


These lucky things will be added to the shop soon!  I am recruiting my much better looking friend to model with her babe.  


Monday, January 28, 2013

DIY Chalk Paint- Refinished Dresser

You have seen the things I have been pinning, you have seen what I have posted on my FB page, You know it was gonna happen...I made it happen NOW!  I am so happy to complete 2 huge project this MLK weekend.  
So glad that after deciding we needed a new TV stand to keep little guy's hands out of, I hopped on craigslist for literally 2-3 days.  Non stop searcing, obsessing, wishing, wondering, comparing all the fun treasures that are offered.  I scored 2 dressers, one $65 and the other $60.  Yay me.  These are hard, sturdy vintage dressers that are built great.

So after finding and purchasing my favorites, I then investigated how to execute my new venture.  Which way was I going to go.  Sanding and priming, cussing and crying? oooooorrrr.....CHalk Paint!?
Yep, you got it.  This girl chose the easy road.  Im also thinking that not too many people around me that have repainted furniture have hear of Chalk paint.  Man is it awesome.  I guess it can be pricey so I found a great recipe after reading about a few different ones.   Chalk paint is great for a distressed antiqued finish peice of furniture.  It sands down quickly on the area you want to distress.  That is why I chose this paint.


Again, I forgot to take before pictures, I do have this one you can see it in the back ground.  See it?  Kinda ugly with fantastic potential??

So the recipe I ended up choosing was this:
for a 6 drawer dresser 1 coat,
2 cups paint & primer
5 TBS Plaster of Paris powder
2 TBS water

Mix water and plaster together til smooth, then add the paint.  Stir well.

Apply paint and watch out for drips, catch them quickly cause this paint dries fast.  Once you finish the first coat you can go back to the beginning and start applying the second coat.  Let dry for an hour.


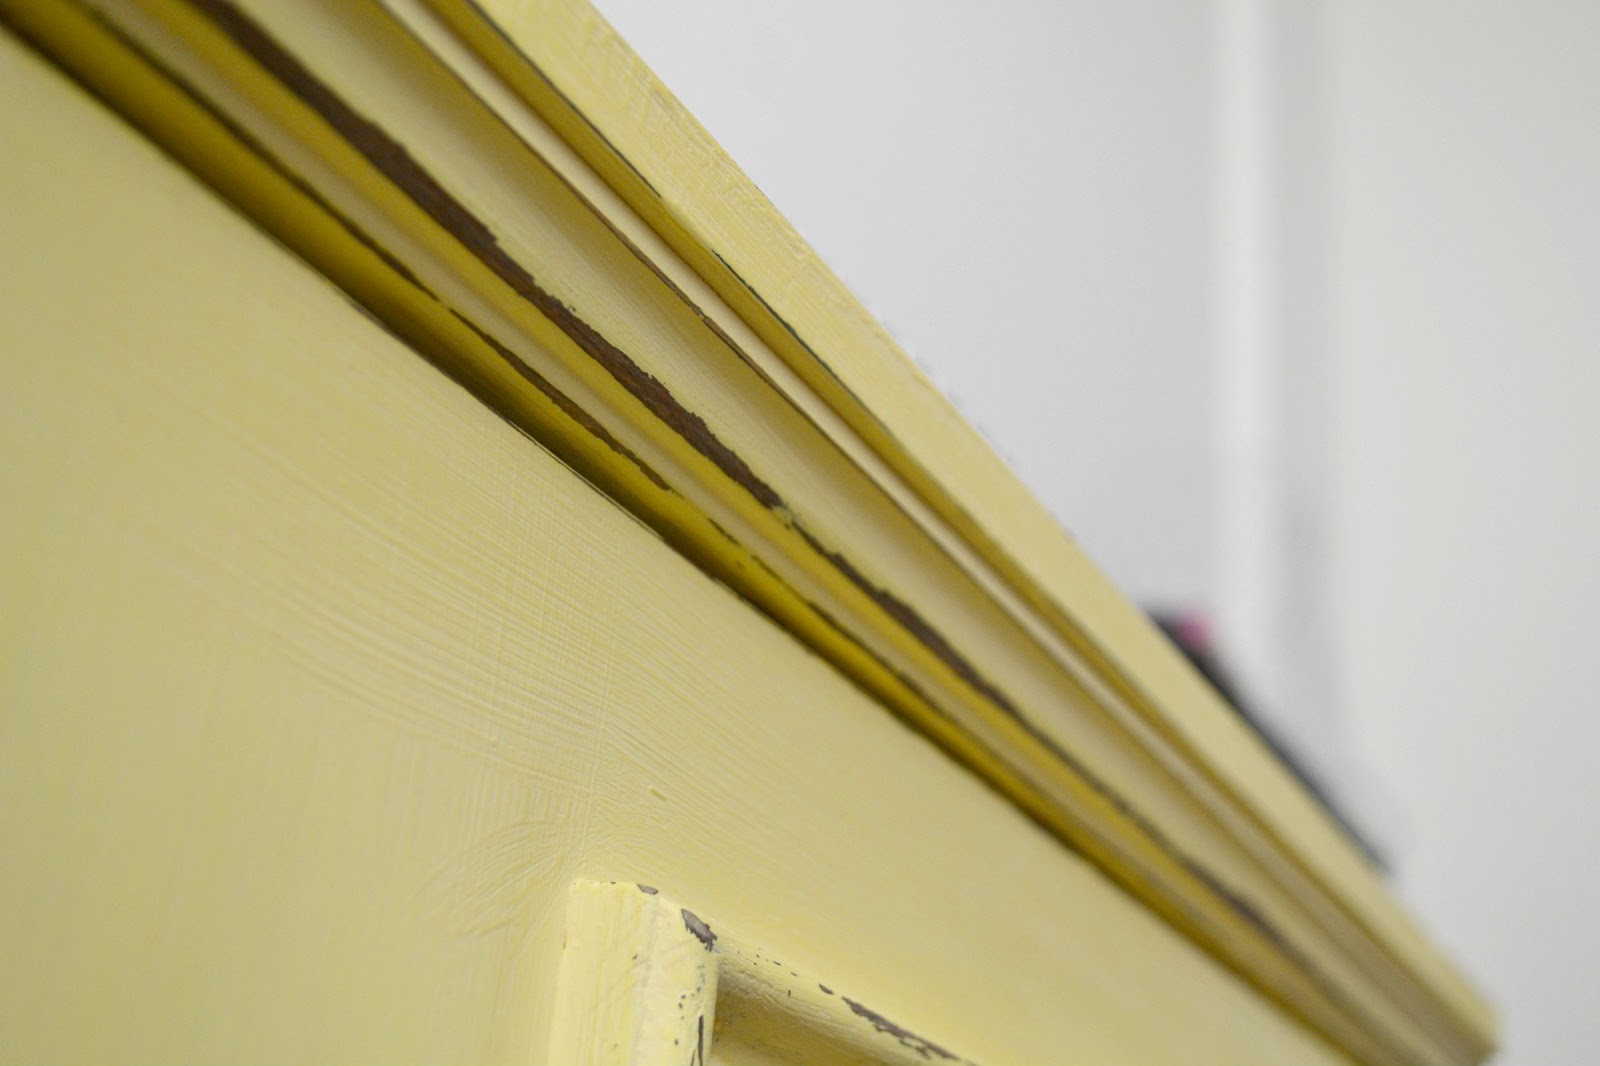
After it is dry begin lightly sanding the entire surface

Then start focusing on the area you want to distress


wipe down with a damp cloth to remove all the dust, then finish with a finishing wax.  This will seal it.


re apply your handles.  Lucky for me my dresser had all i could have imagined.  Love it!
This peice is replacing my 6 foot table and rubbermaid storage drawers I have been storing my supplies and inventory in.


See that pretty desk my sewing machine is on?  Scored that baby for $40.  I didnt' have to do a thing to it!
The space is prettier to look at now espcially since my office is the living room.


thanks Marshalls for the awesome baskets.  


Wednesday, January 23, 2013

Taylor Swift Birthday Part- Back Stage VIP Pass

The big day is coming up this weekend and I am so excited for my girls.  We don't throw them parties but every other year.  Bella has never really had a birthday party so this will be her first.  And to my happy advantage the both wanted a Taylor Swift party...so naturally I decide to do it combine! Yay for me and them.  
I thought of the Taylor Swift party idea one day while rocking out in the van to none other than "Never Ever Getting Back Together".  Looking in the rear view and watching my girls totally rocking out with big smiles on their faces.  Dead serious, Allisandria acts like she is in a music video every time she sings, so it is quite the scene when she does.  Right then it dawned on me.  Taylor Swift Red party.  Everything red!  
I hopped online to my favorite addiction and started pinning rock star party ideas.  Someone had done VIP passes on lanyards!  I inquired about the cost of lanyards to my sister you has her own company selling promotional items to businesses, she is the one who gave me the idea to just use contact paper, and shoe laces!  Holy Canoli, awesome!
So I headed over to the Dollar Tree and found me some shoelaces 1 8 pack was plenty.  Each bundle has 2 laces.  I already had contact paper.

make and print on card stock, TSwift for the girls, and Rock stars for the boys

So lay out a large peice of contact paper sticky side up.  Make and print your VIP passes on card stock, cut them out and lay them on the paper evenly spaced.  Then lay another peice of contact paper over the top sticky side down so everything is sandwiched.  


Next, cut around each pass leaving about 1/4 inch and press and seal really good so they don't peel apart.


Hole punch about 1/2 inch from the top


Gather your awesomely cheap shoelaces

run them through the hole in the pass


Tie a not close to the end and your done!


these little beauties will be handed out at the door when guests arrive with their Taylor Swift tickets I made.  I'll show those in a later post!

                                      
Another fantastic find was to make Taylor swift coloring pages like I did HERE, then buy a big pack of crayons from the dollar store and wrap them in rubber bands from the dollar store!  Party favors just got more fun, more cheap, and more genius!

Don't you want to throw a Taylor Swift Party now?